
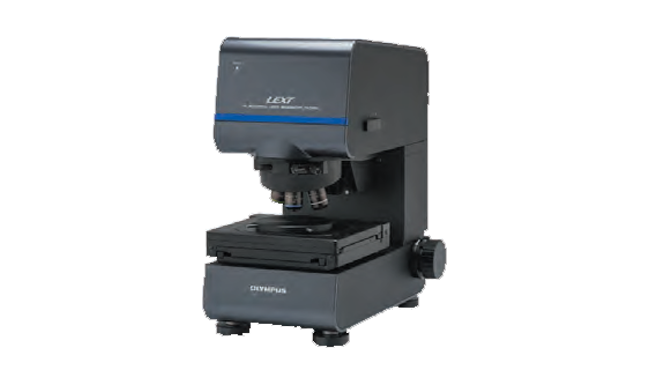


 VLSI Standard 80 Nm Height Sample (MPLFLN10XLEXT)
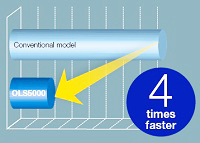
The microscope's scanning algorithm delivers improved data quality and greater speed to reduce the scan time and streamline your workflow, resulting in better productivity.
PEAK Algorithm
The OLS5000 microscope incorporates a PEAK algorithm for 3D data construction. This algorithm provides highly accurate data from low to high magnifications and reduces the data acquisition time.
Skip Scan
When measuring the shape of steps on a sample containing near-vertical planes, such as an electronic component or MEMS, the data acquisition time can be reduced by limiting the Z-direction scanning range.
A 700 ?m step can be measured in about 15 seconds without degrading the accuracy (when the MPLAPON20x objective is used).
Other speed-enhancing technologies
 Measurement Of The Area/volume In The Specified Region.
 Measurement Of R And The Height From The Reference Plane Based On The Automatic Recognition Of A Cir
 Measurement Of The Difference In Angle Between Two Specified Regions.
 Measurement Of The Step Height Difference And Distance Between Two Specified Regions.
 Measurement Of The Surface Roughness In The Specified Region.
 Measurement Of The Width By Automatically Detecting Edges In The Specified Region.
Work efficiently: simple operating procedures
The system features automatic data capture, so difficult setting adjustments are no longer necessary. Even users with minimal training can still obtain accurate results.
Simplify the measurement area
00:00 | 00:19
The simple analysis function measures the step, line width, surface roughness, area, and volume only in the specified measurement areas. The causes of variance in the measurement results, such as the edge position and the threshold of the reference planes in volume analysis, are automatically detected so that the measurement results are stable and not affected by the operator’s skill level.
 Connecting Rod
.jpg) Piston Head
Piston Head
1.jpg) Tool
Tool
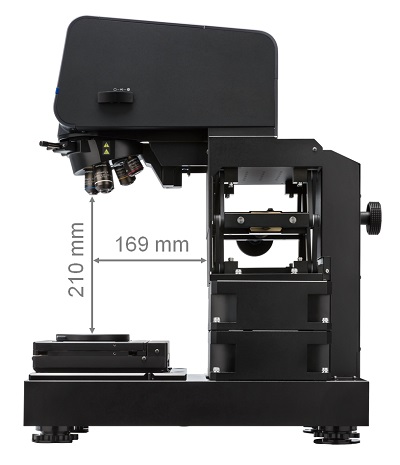
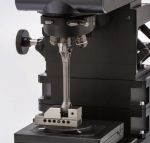
Compatible with samples up to 210 mm tall
The extension frame for the OLS5000 microscope accommodates samples with a height of up to 210 mm, while the ultra-long working distance objective facilitates measurement of concavities as deep as 25 mm.
In both cases, all you have to do is place the sample on the stage.
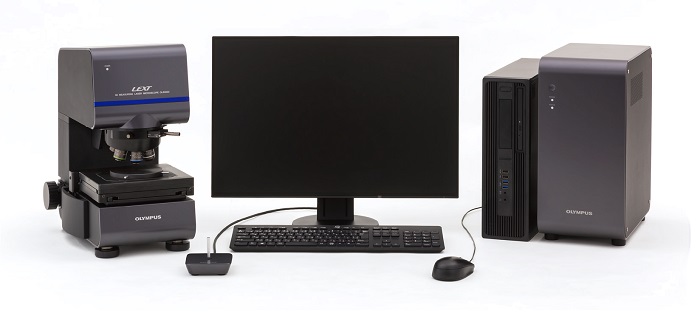
OLS5000-SAF Setup Example
OLS5000-SAF
 |
|
OLS5000-EAF
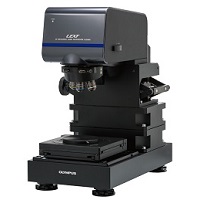 |
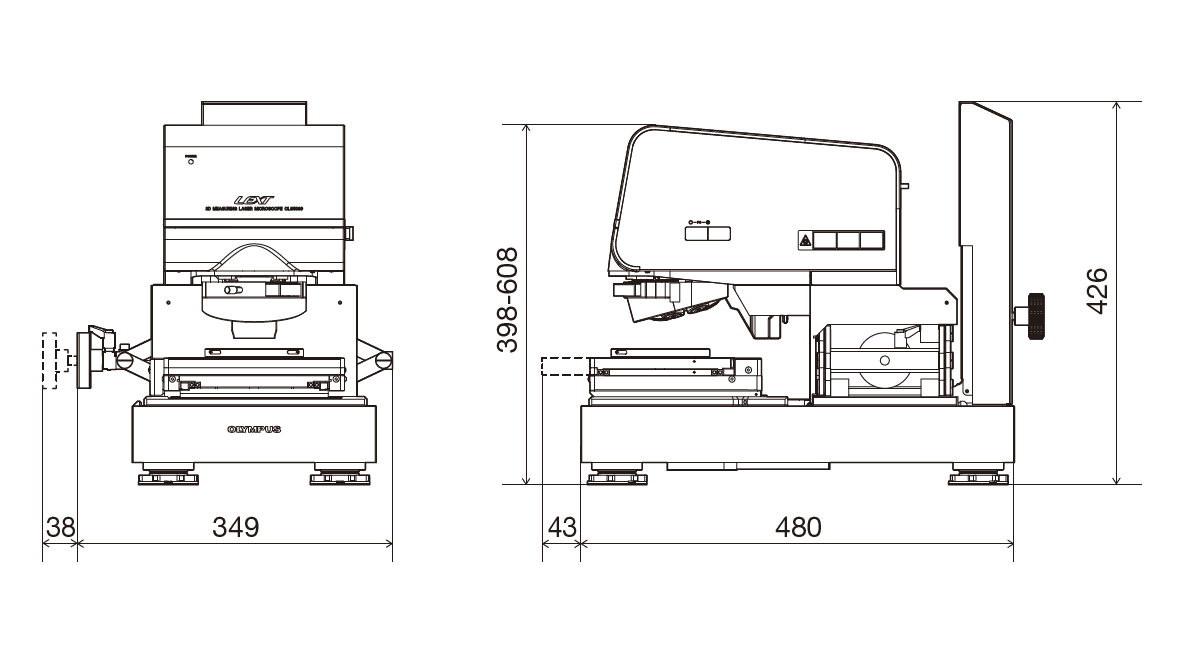
|
OLS5000-SMF
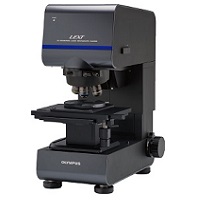 |
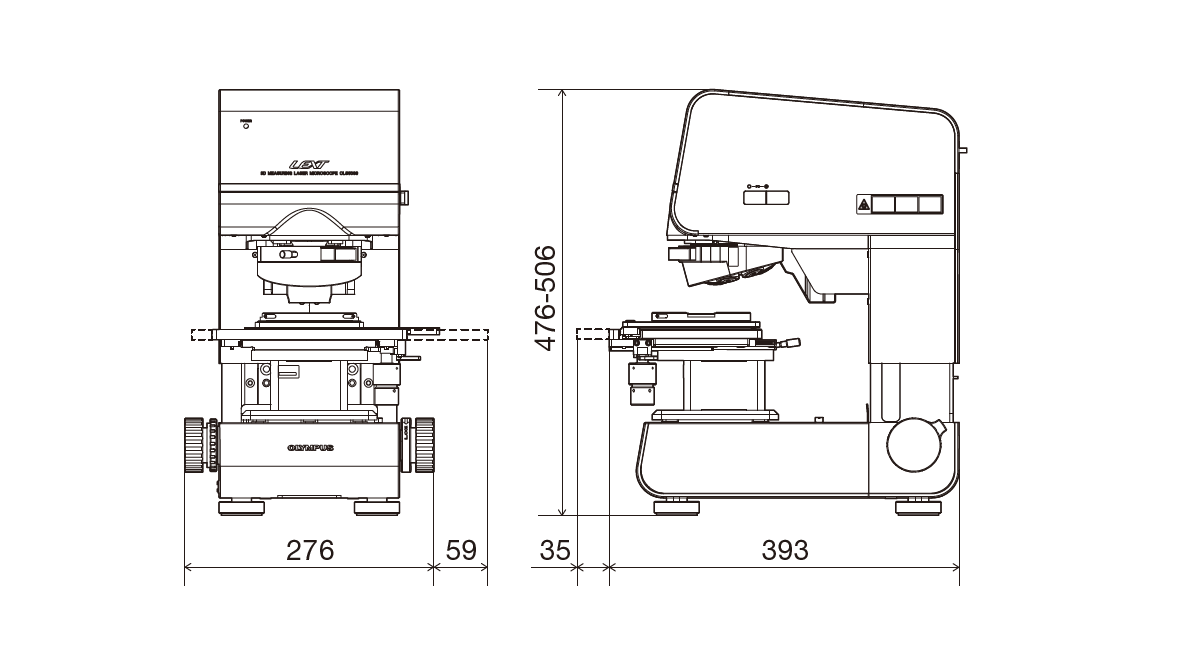
|
OLS5000-EMF
 |
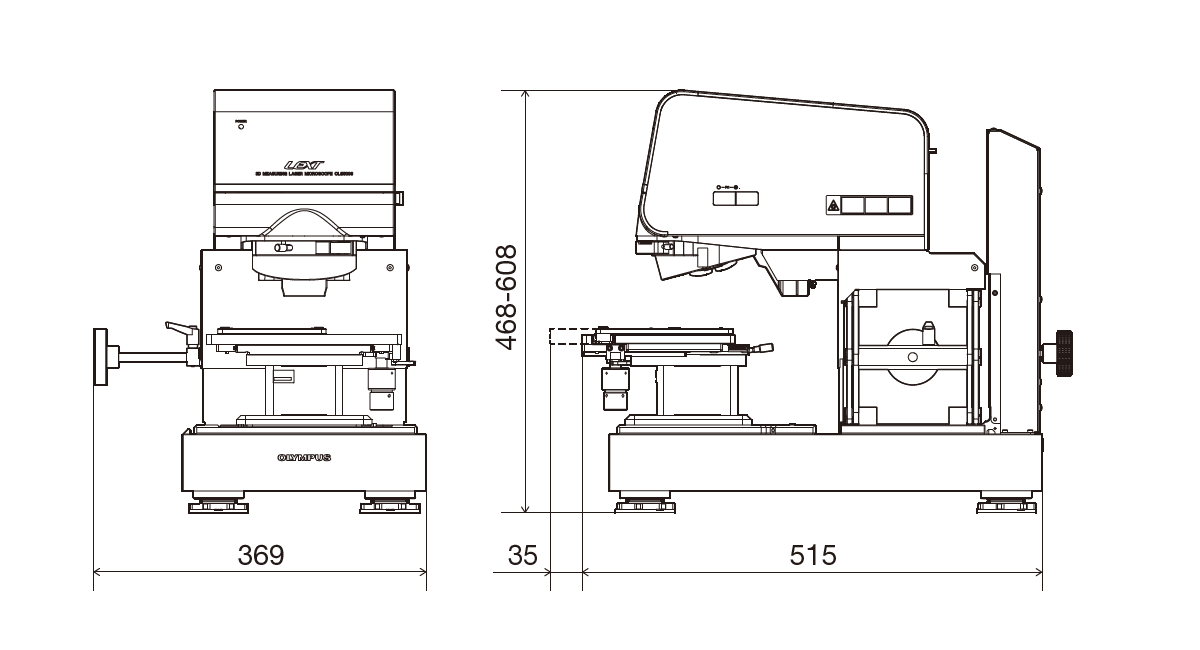
|
OLS5000-LAF
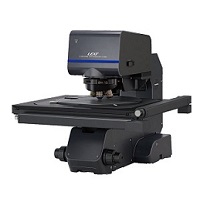 |
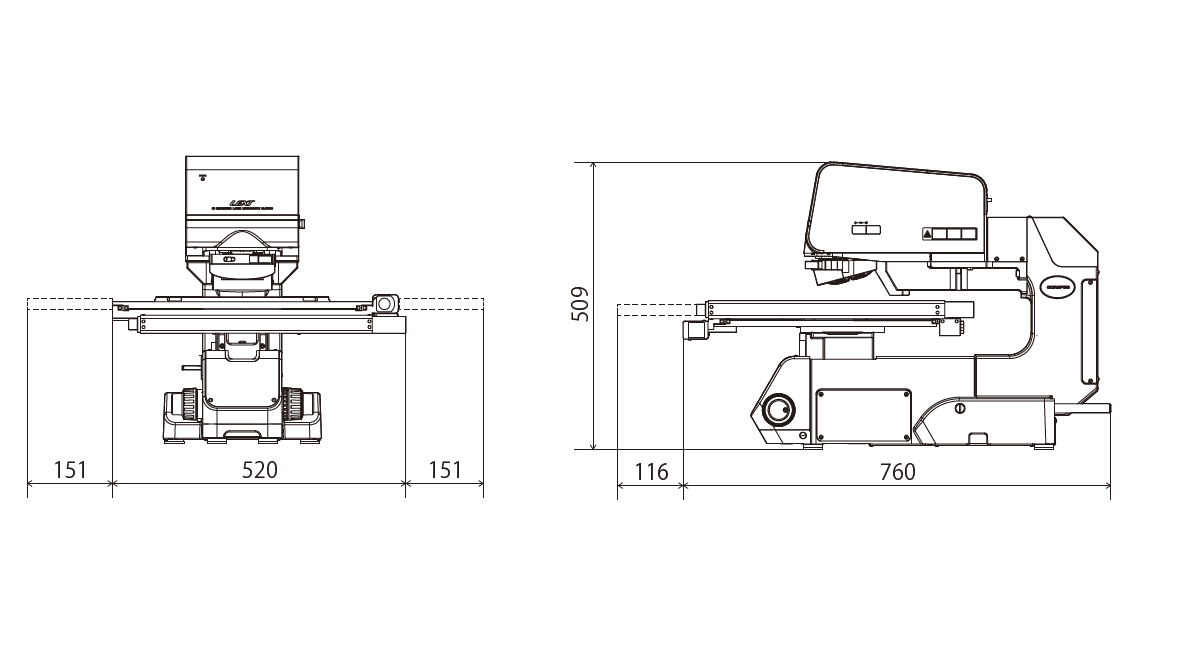
|
PC & Control unit

| Model | OLS5000-SAF | OLS5000-SMF | OLS5000-LAF | OLS5000-EAF | OLS5000-EMF | |
|---|---|---|---|---|---|---|
| Total magnification | 54x - 17,280x | |||||
| Field of view | 16um - 5,120um | |||||
| Measurement principle | Optical system | Reflection-type confocal laser scanning laser microscope Reflection-type confocal laser scanning laser-DIC microscope Color Color-DIC | ||||
| Light receiving element | Laser: Photomultiplier (2ch) Color: CMOS color camera | |||||
| Height measurement | Display resolution | 0.5nm | ||||
| Dynamic range | 16 bits | |||||
| Repeatability ?n-1*1 *2 *5 | 5X?0.45?m, 10X?0.1?m, 20X : 0.03?m, 50X : 0.012?m, 100X : 0.012?m | |||||
| Accuracy *1 *3 *5 | 0.15+L/100?m (L:Measuring length[?m]) | |||||
| Accuracy for stitched image *1 *3 *5 | 10X?5.0+L/100 ?m, 20X or higher : 1.0+L/100 ?m (L: Stitching length [?m]) | |||||
| Measurement noise (Sq noise) *1 *4 *5 | 1nm | |||||
| Width measurement | Display resolution | 1nm | ||||
| Repeatability 3?n-1 *1 *2 *5 | 5X : 0.4 ?m, 10X : 0.2 ?m, 20x : 0.05 ?m, 50X : 0.04 ?m, 100X : 0.02 ?m | |||||
| Accuracy *1 *3 *5 | Measurement value +/- 1.5% | |||||
| Accuracy for stitched image *1 *3 *5 | 10X : 24+0.5L ?m, 20X : 15+0.5L ?m, 50X : 9+0.5L ?m, 100X : 7+0.5L ?m (L: Stitching length [mm]) | |||||
| Maximum number of measuring points in a single measurement | 4096 x 4096 pixel | |||||
| Maximum number of measuring points | 36 Mpixel | |||||
| XY stage configuration | Length measurement module | • | NA | NA | • | NA |
| Operating range | 100 x 100mm Motorized | 100 x 100mm Manual | 300 x 300 mm Motorized | 100 x 100mm Motorized | 100 x 100mm Manual | |
| Maximum sample height | 100mm | 30mm | 37mm | 210mm | 140mm | |
| Laser light source | Wavelength | 405nm | ||||
| Maximum output | 0.95 mW | |||||
| Laser class | Class 2 (IEC60825-1:2007, IEC60825-1:2014) | |||||
| Color light source | White LED | |||||
| Electrical power | 240 W | 240 W | 278 W | 240 W | 240 W | |
| Mass | Microscope body | Approx. 31 kg | Approx. 32 kg | Approx. 50 kg | Approx. 43 kg | Approx. 44 kg |
| Control box | Approx. 12 kg | |||||
Objective Specifications
| Series | Model | Numerical Aperture(NA) | Working Distance(WD)(mm) |
|---|---|---|---|
| UIS2 objective lens | MPLFLN2.5x | 0.08 | 10.7 |
| MPLFLN5x | 0.15 | 20 | |
| LEXT dedicated objective lens (10X) | MPLFLN10xLEXT | 0.3 | 10.4 |
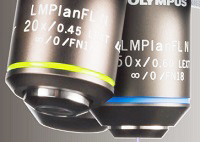
| LEXT dedicated objective lens (High performance type) | MPLAPON20xLEXT | 0.6 | 1 |
| MPLAPON50xLEXT | 0.95 | 0.35 | |
| MPLAPON100xLEXT | 0.95 | 0.35 | |
| LEXT dedicated objective lens (Long working distance type) | LMPLFLN20xLEXT | 0.45 | 6.5 |
| LMPLFLN50xLEXT | 0.6 | 5 | |
| LMPLFLN100xLEXT | 0.8 | 3.4 | |
| Super long working distance lens | SLMPLN20x | 0.25 | 25 |
| SLMPLN50x | 0.35 | 18 | |
| SLMPLN100x | 0.6 | 7.6 | |
| Long working distance for LCD lens | LCPLFLN20xLCD | 0.45 | 8.3-7.4 |
| LCPLFLN50xLCD | 0.7 | 3.0-2.2 | |
| LCPLFLN100xLCD | 0.85 | 1.2-0.9 |
Application software
| Standard software | OLS50-BSW | Data acquisition app |
|---|---|---|
| Analysis | ||
| Motorized stage package application*1 | OLS50-S-MSP | |
| Advanced analysis application*2 | OLS50-S-AA | |
| Film thickness measurement application | OLS50-S-FT | |
| Auto edge measurement application | OLS50-S-ED | |
| Particle analysis application | OLS50-S-PA | |
| Multi-data analysis application | OLS50-S-MA | |
| Sphere/cylinder surface angle analysis application | OLS50-S-SA | |
If you have question you can reach us. Just fill up the form below.